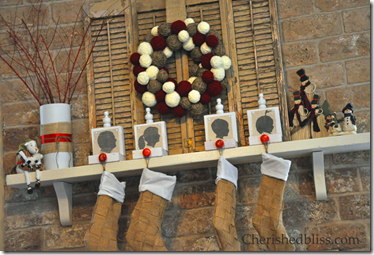
Showing posts with label Creating Christmas 2011. Show all posts

Wednesday, December 14, 2011

Top Picks from Christmas with Girl Creative


I have not had nearly so much fun as I have this past week creating with The Girl Creative!  It was a blast to co-host with her all week long and I really enjoyed having a linky party.  My top five for the Christmas Link Party are . . .  

1.  Glass Trees from Alderberry Hill.  These are simply beautiful!  


2.  Mistletoe Centerpieces from Homespun with Love.  Love the way these looks :)

3. Mantle (with a simply stunning wreath - she was my inspiration for my own wreath seen here) from Cherished Bliss


4.  Recycled Fence Post Mantle from It's Overflowing - love love love this look!  Makes me wish I had a mantle :) 


5.  Last but by far not least - Advent Calendar from The Girl Creative!  Thanks for a great week, Diana!  

I'm thinking about starting up my own link party in the new year when I get my new look - yup I'm getting a new blog design :)  I'm super excited!  Thanks for stopping by!  Merry Christmas!  Jesus is the Reason for the Season :)  


Elizabeth Mindemann alwaysdeeper@hotmail.com www.ejoym.blogspot.com
.

Saturday, December 10, 2011

Creating Christmas Linky Party

CREATING_CHRISTMAS_BANNER_jpg As we wrap up Creating Christmas week I hope that you have all been inspired to stop pinning and start creating! I’m excited to see what everyone has been working on. This Christmas Linky Party is no ordinary party. This is a blog hop. And what that means is that there are 18 FABULOUS bloggers that are hosting this party at their very own blog. Whether you add your project link here or at any of the other 17 co-hosts blogs, it will show up on one huge party list! Awesome! If you haven’t already, please take the time out to visit the other co-hosts and go through their Creating Christmas posts. There is some really neat projects! The Girl Creative, Que Linda Crafts, The Cottage Market, Love Lindsey, Domestic Mischief, Chicken Scratch, Love Sweet Love, Randee’s Organized Chaos, Musings of a Glamour Puss, Anastacia Knits, Southern Scraps, Modern Yet Old Fashioned, Broken Treasures, Alyssabeth’s, Domestic Deadline, Life on Walnut Street, 52 Mantels, The Glamorous Life
The Rules are SiMpLe:
  • Add a link to a project that YOU have created!
  • Visit the 2 links ahead of you and check out what they’ve got going on. Leave some comment love. Tis the season for giving after all. {wink wink}
  • HAVE FUN AND BE INSPIRED!!


Here is what I have for you today inspired by a pin on my Christmas! pinboard from Two Junk Chix Blog


I so wanted to make this wreath or the wreath from Addicted2Decorating
But when I saw the price of Styrofoam balls (even the packs of 8 at the Dollar store would have broke my budget especially because they needed to be different sizes and the packs are all the same size) I was broken hearted.  Good thing there is hope for the broken (even those broken by dashed decore dreams) and while surfing the net I stumbled across this post from Cherished Bliss

I realized I could afford this one!  And be "green" at the same time!  YAY!

So I gathered my materials . . . Here is what you will need:
Yarn ($2.29 a skein at the local craft store) - I got one in Cream, and one in Red
Twine ($0.99 at the local store - I used 1 1/2)
Styrofoam Wreath frame ($2.50 at the local store)
Brown paper bags or gift wrap left over from your son's 4th birthday party ($0)
Glue gun and glue sticks
 1.  Crumple up the gift wrap into a ball shape or
 1a. Crumple up the brown paper bag into a ball shape
 2.  Start wrapping the yarn around the ball until . . .
 2 (continued) almost there
 2 (continued) the paper is completely covered with yarn.  Do this a zillion times with the various colors.  Ok really I made five out of twine, fifteen out of red and eighteen out of white)
 3.  Glue the balls of yarn to the wreath form and then to the balls of yarn on every side as shown


 Keep going - it will get very heavy - but you are a strong woman (or man) and you can do this!
 4.  Tie with twine and hang on your door (or wall or around your neck - whatever) and you are . . .


 All finished!  And it only cost me $8.60 instead of $13 or $14 with the styrofoam balls. Now I know that is only a savings of $4.75 but for this SAHM of three it is at least one meal :) in savings!

Hope you like it as much as I do and that you'll even be inspired to try it out :)   Don't forget to stop over at Cooking with Cricut to see what giveaways and free digi stamps are there today!  Thanks for stopping by and taking the time to comment!  I am deeply blessed by you all :)


DIY Project Party


Elizabeth Mindemann alwaysdeeper@hotmail.com www.ejoym.blogspot.com
.

Friday, December 9, 2011

Creating Christmas Day 6

                                                   Creating Christmas at The Girl Creative
Welcome back to Creating Christmas with The Girl Creative!  Can you believe we are on Day 6 already?  I know!  I'm a little sad that our time together is almost over but I have so enjoyed the challenge and meeting new blogging friends along the way.

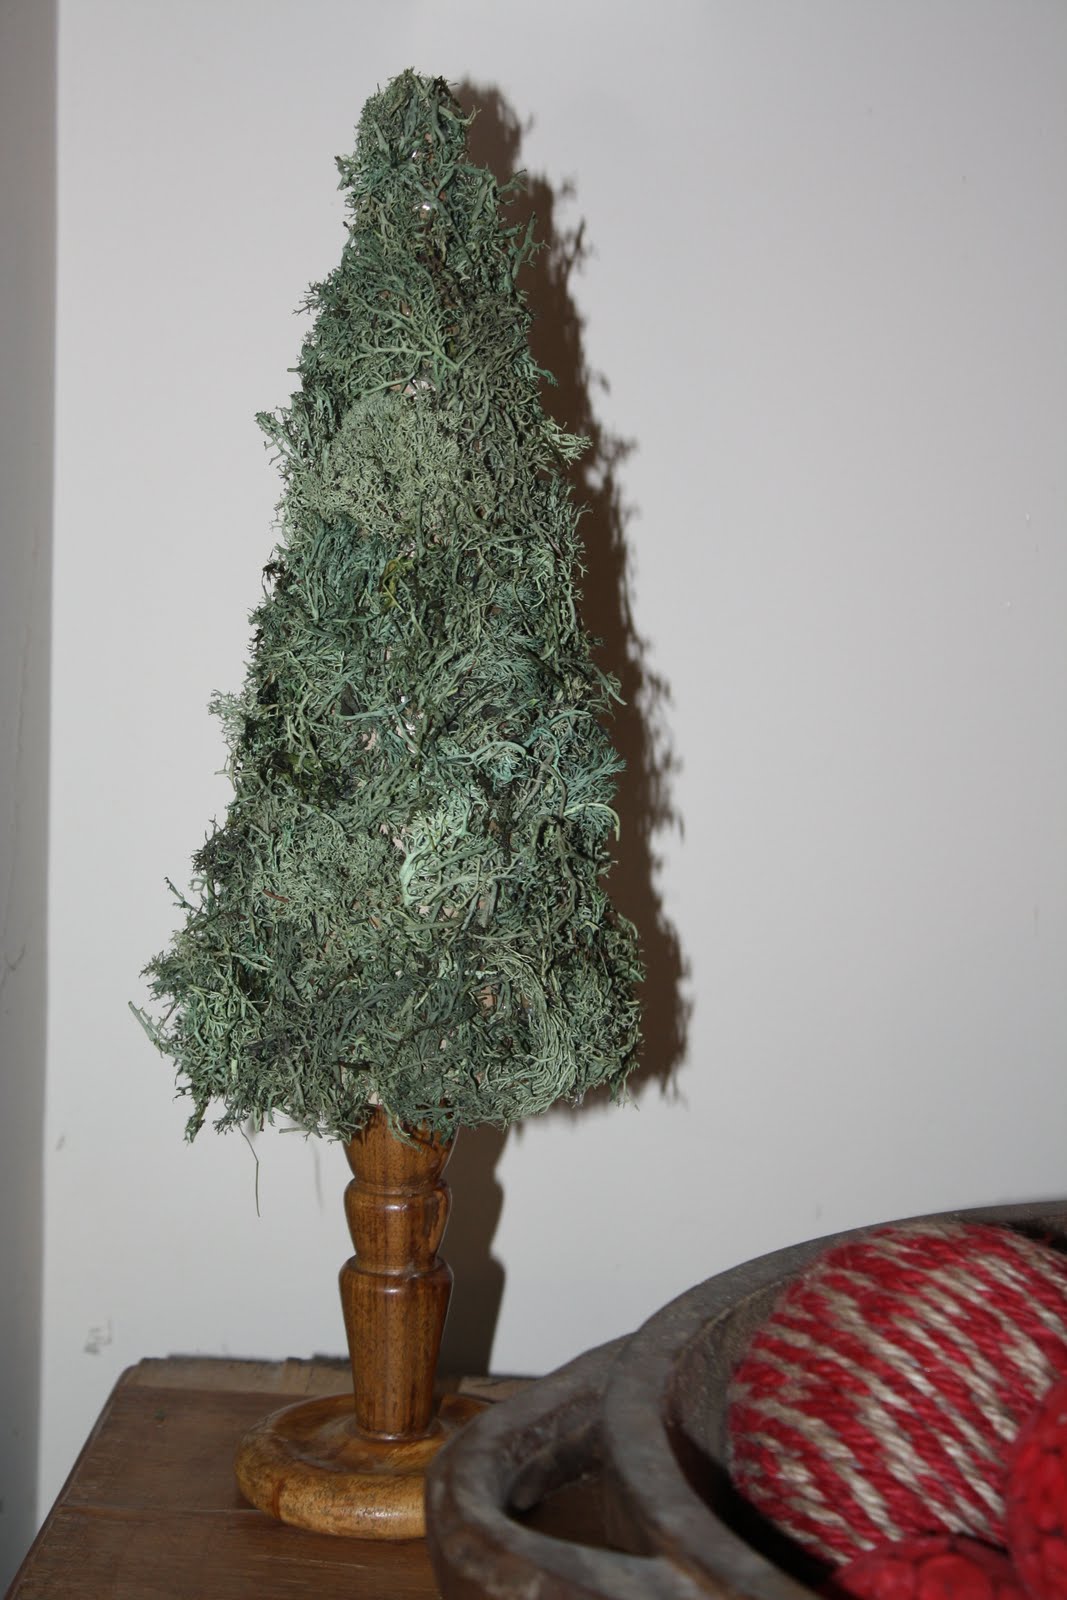
Today I'm going to show you some simple trees I made using Cardstock, cardboard, candle sticks and moss. 

Supplies needed:
Cardstock ($0.22 a sheet), candlestick (free or get them for less than $1 at thrift stores, markets, garage sales or the dollar store), Reindeer moss ($1 a package - used one package for the larger trees, the smaller trees used 1/2 package), glue or adhesive.  Total project ($1.22 for the larger trees, $6.39 for the smaller trees - man oh man is Styrofoam expensive - next time I'll just go with the handmade cones which would have made the smaller trees only $.72 each!)   Ok enough chatter - let's get on with the tutorial . . . 

The picture shows mod podge but I tried it and it really was too difficult
for this project so I just went with a hot glue gun!  
1.  Make your cone out of cardstock and glue.  Measure the base of your cone on cardboard and cut out the circle.  
 2.  Glue the cardboard to the inside of the base of the cone as shown
 3.  Glue the cone base to the top of your wooden candle stick.

 4.  Add hot glue and moss a little at a time, pushing the moss against the cone - be careful not to fry your fingers - don't ask me how I know this can happen :(
 Keep going working your way down the cone
 5.  Display somewhere nice and festive :)
 The two smaller trees shown are done the same way only I used Styrofoam Cones instead of cardstock and no candle base.
 Another view of my dresser in the dinning room (this is where I keep my table linens, paper products and candles).  The Cranberry Floating Candles were from yesterday's post.

Don't forget about the HUGE 25 Days of Christmas Crafting over at Cooking with Cricut!  

I'm hosting one of the giveaways and offering anyone who makes a $25 or more purchase off my website in the month of December a chance to win a FREE Workshop on the go! (check out my facebook page for more details).  Make sure you stop by for all the giveaways, free digi stamps and lots of inspiration for holiday creating throughout the year!  Also this month on my facebook page you can upload photos of your Christmas Creations for a chance to win a FREE stamp set (value of $17.95).  Merry Christmas - lots going on here at Broken Treasures :)

Thanks for stopping by and taking the time to comment - I read each and every one :)


Elizabeth Mindemann alwaysdeeper@hotmail.com www.ejoym.blogspot.com
.

Related Posts Plugin for WordPress, Blogger...